Get Started
This page walks you from a fresh download to a working agent. It takes a few minutes.
The CrewLabs website will soon let you describe the agent you want before the desktop app even opens — you'll answer a few questions on the web, and the app starts already shaped around that. That step isn't live yet. Everything below covers what's available today, starting at sign-in.
1. Download and install
Download CrewLabs Desktop for macOS and drag it into your Applications folder. Open it like any other app.
2. Sign in
Sign in with your CrewLabs account. The app uses your account to provision the agent and to meter usage against your balance. You don't enter any model API keys — billing and models are managed for you. New balances and how usage is charged are covered in Credits & Billing.
3. Set up your Crew
The first time you sign in, a short wizard sets up your agent. You can change any of these later.
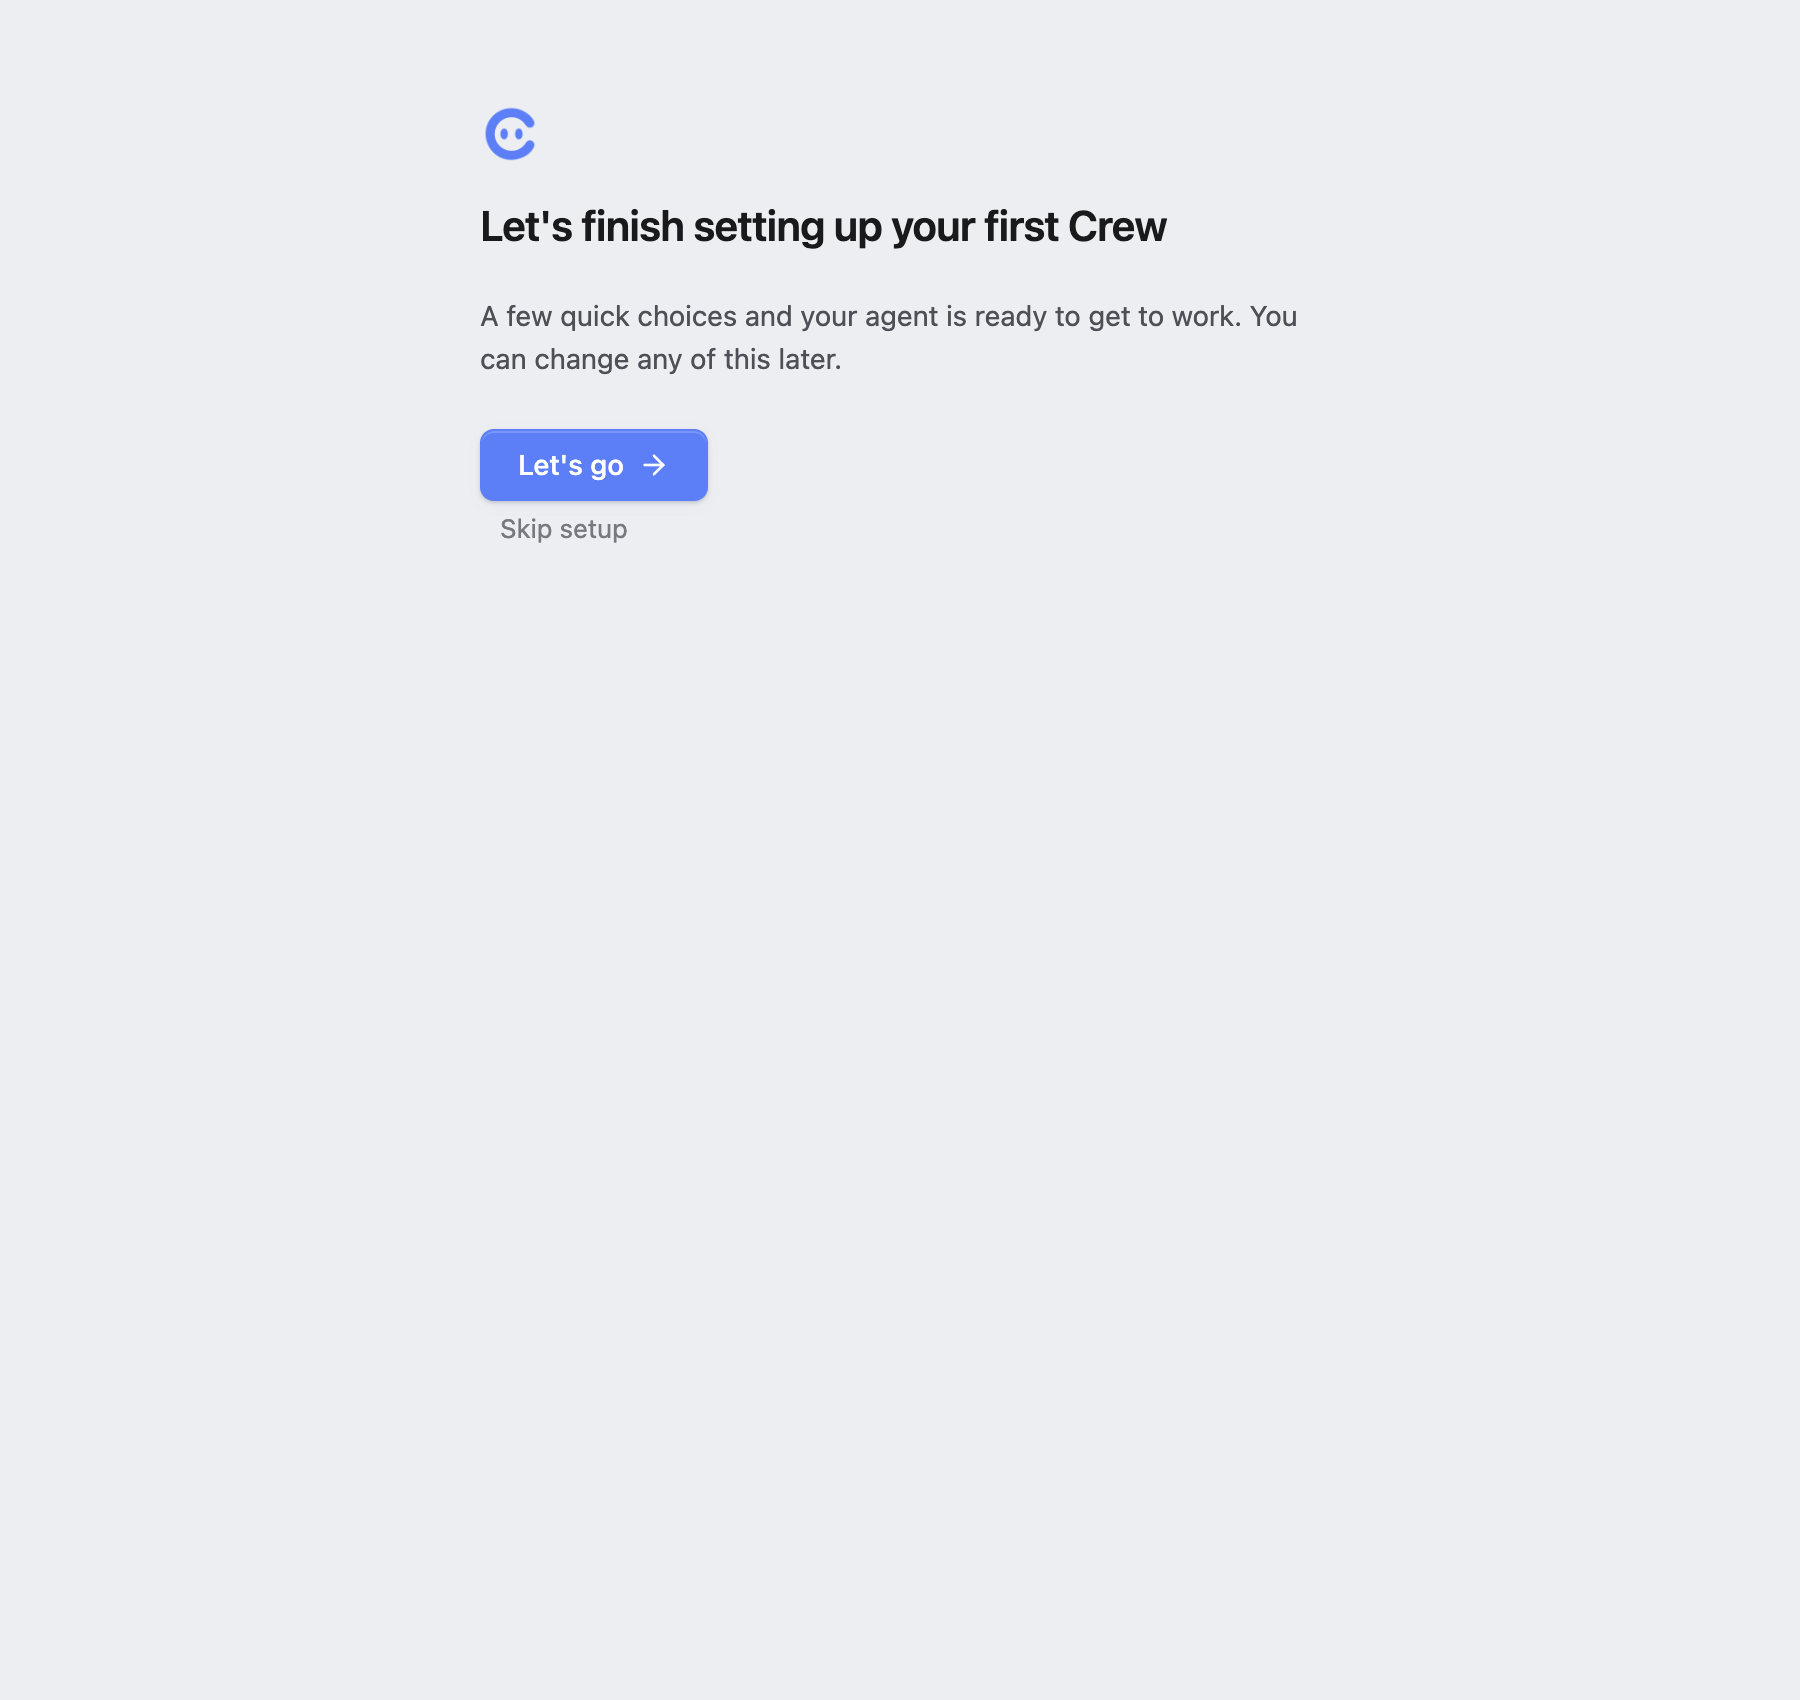
Welcome
The wizard opens with a quick welcome and an overview of what you're about to set up.
Behavior
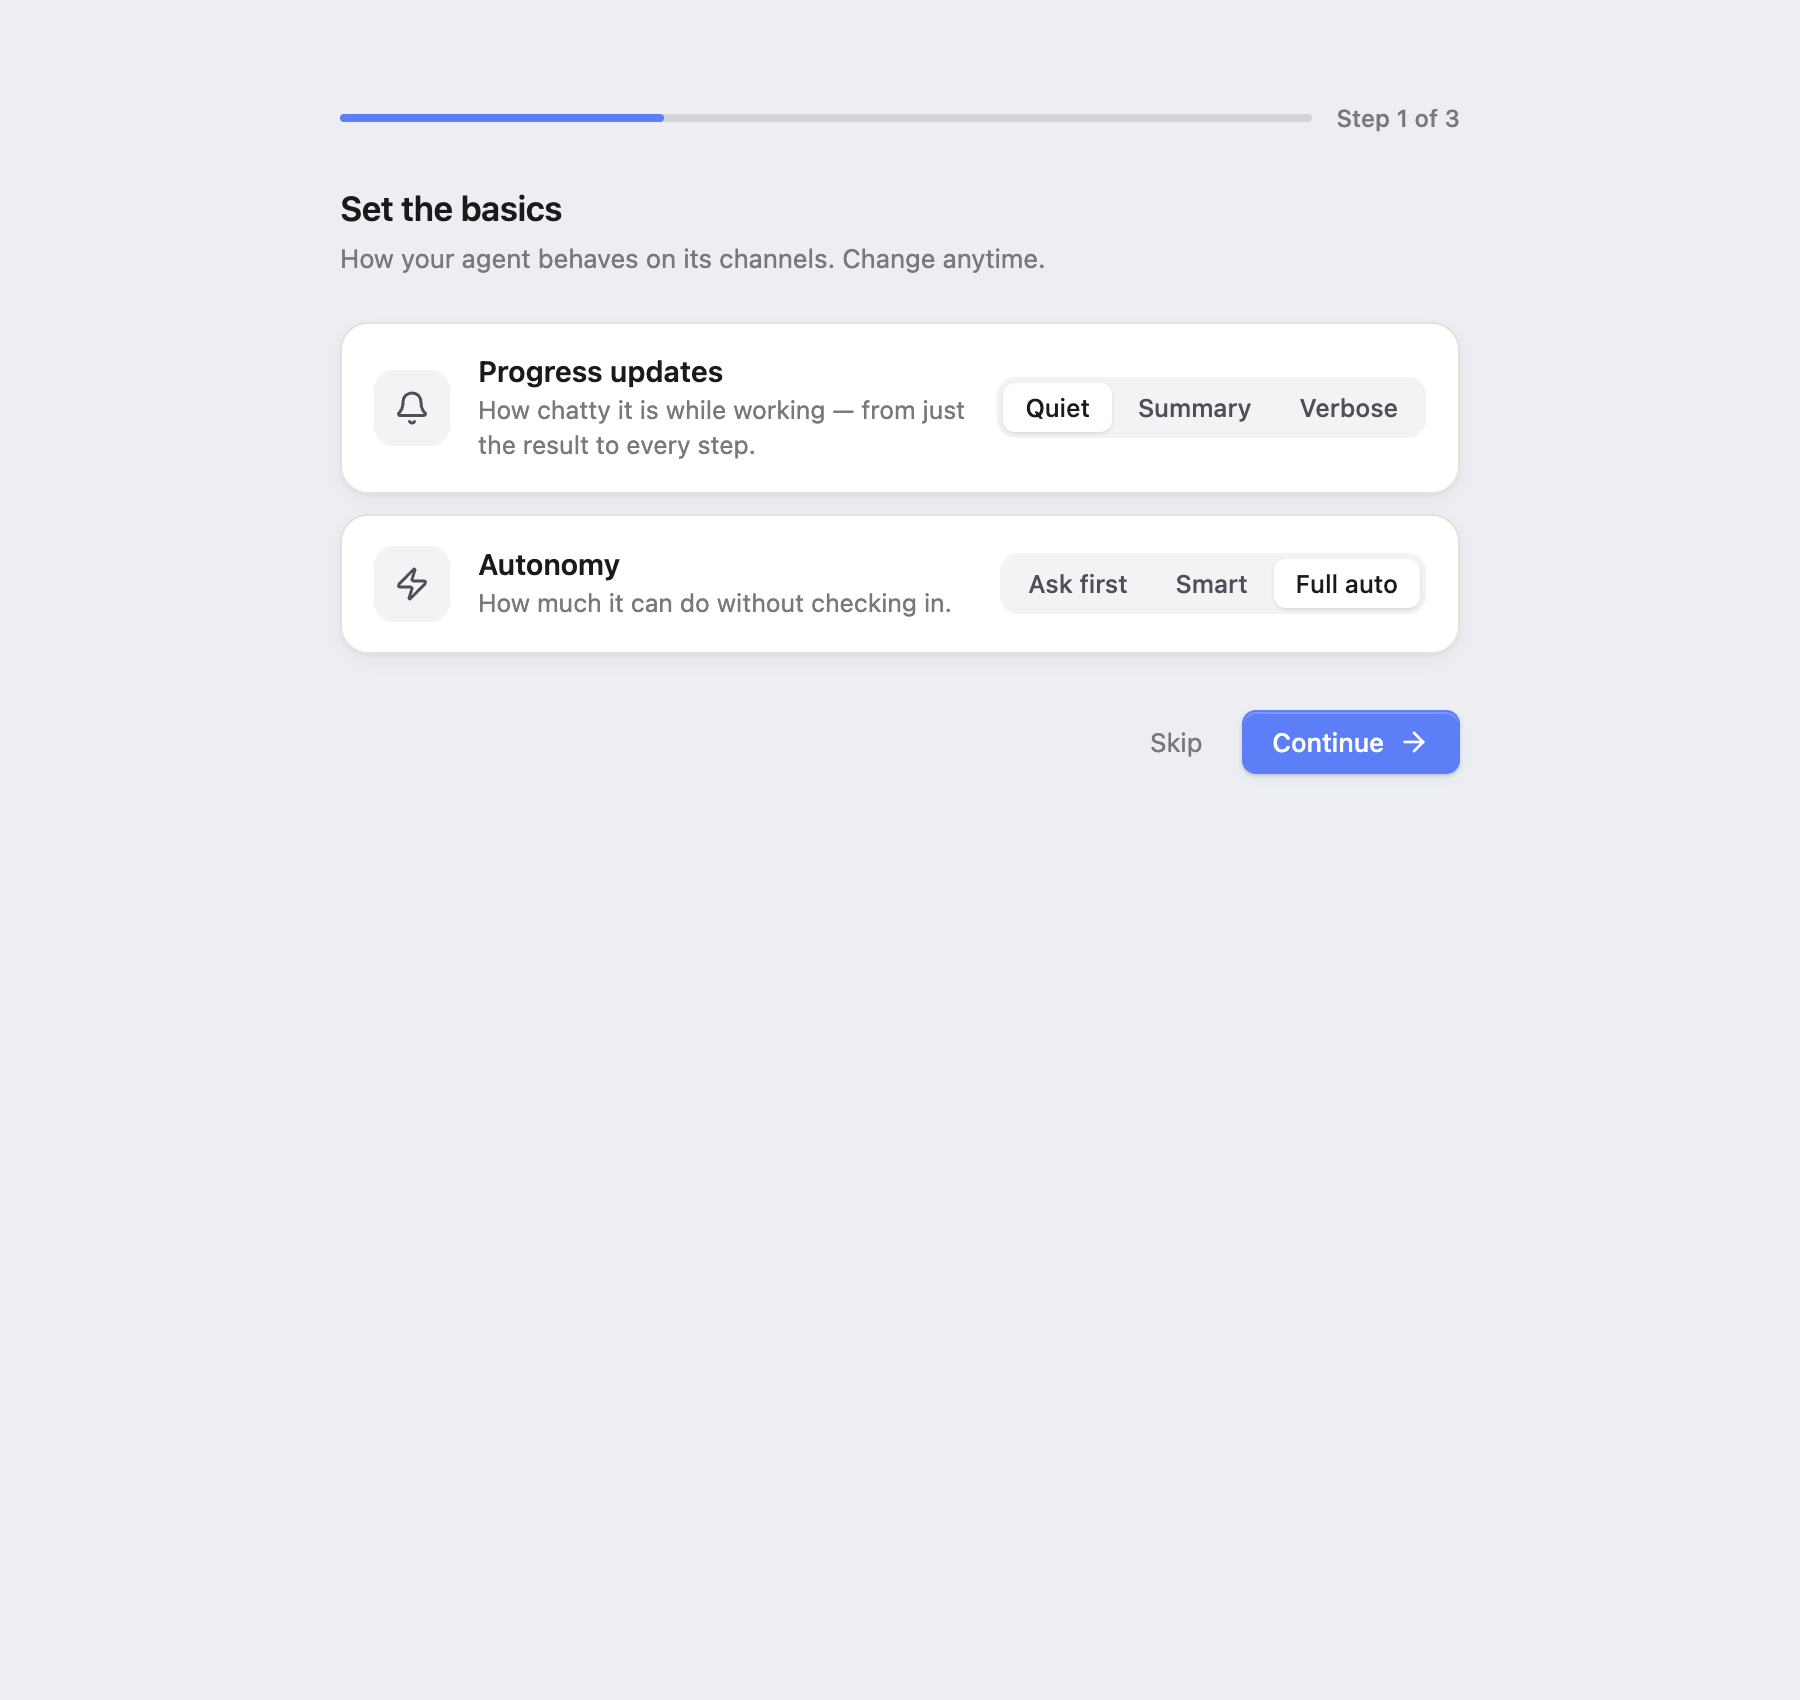
Set how the agent behaves while it works:
- How chatty it is — whether it narrates what it's doing as it goes, or stays quiet and reports back when it's done.
- How autonomous it is — how far it runs on its own before checking in with you.
- Whether it's proactive — whether it can reach out to you on its own. This is the heartbeat, and it's off unless you turn it on here. See Proactive Agent.
Model
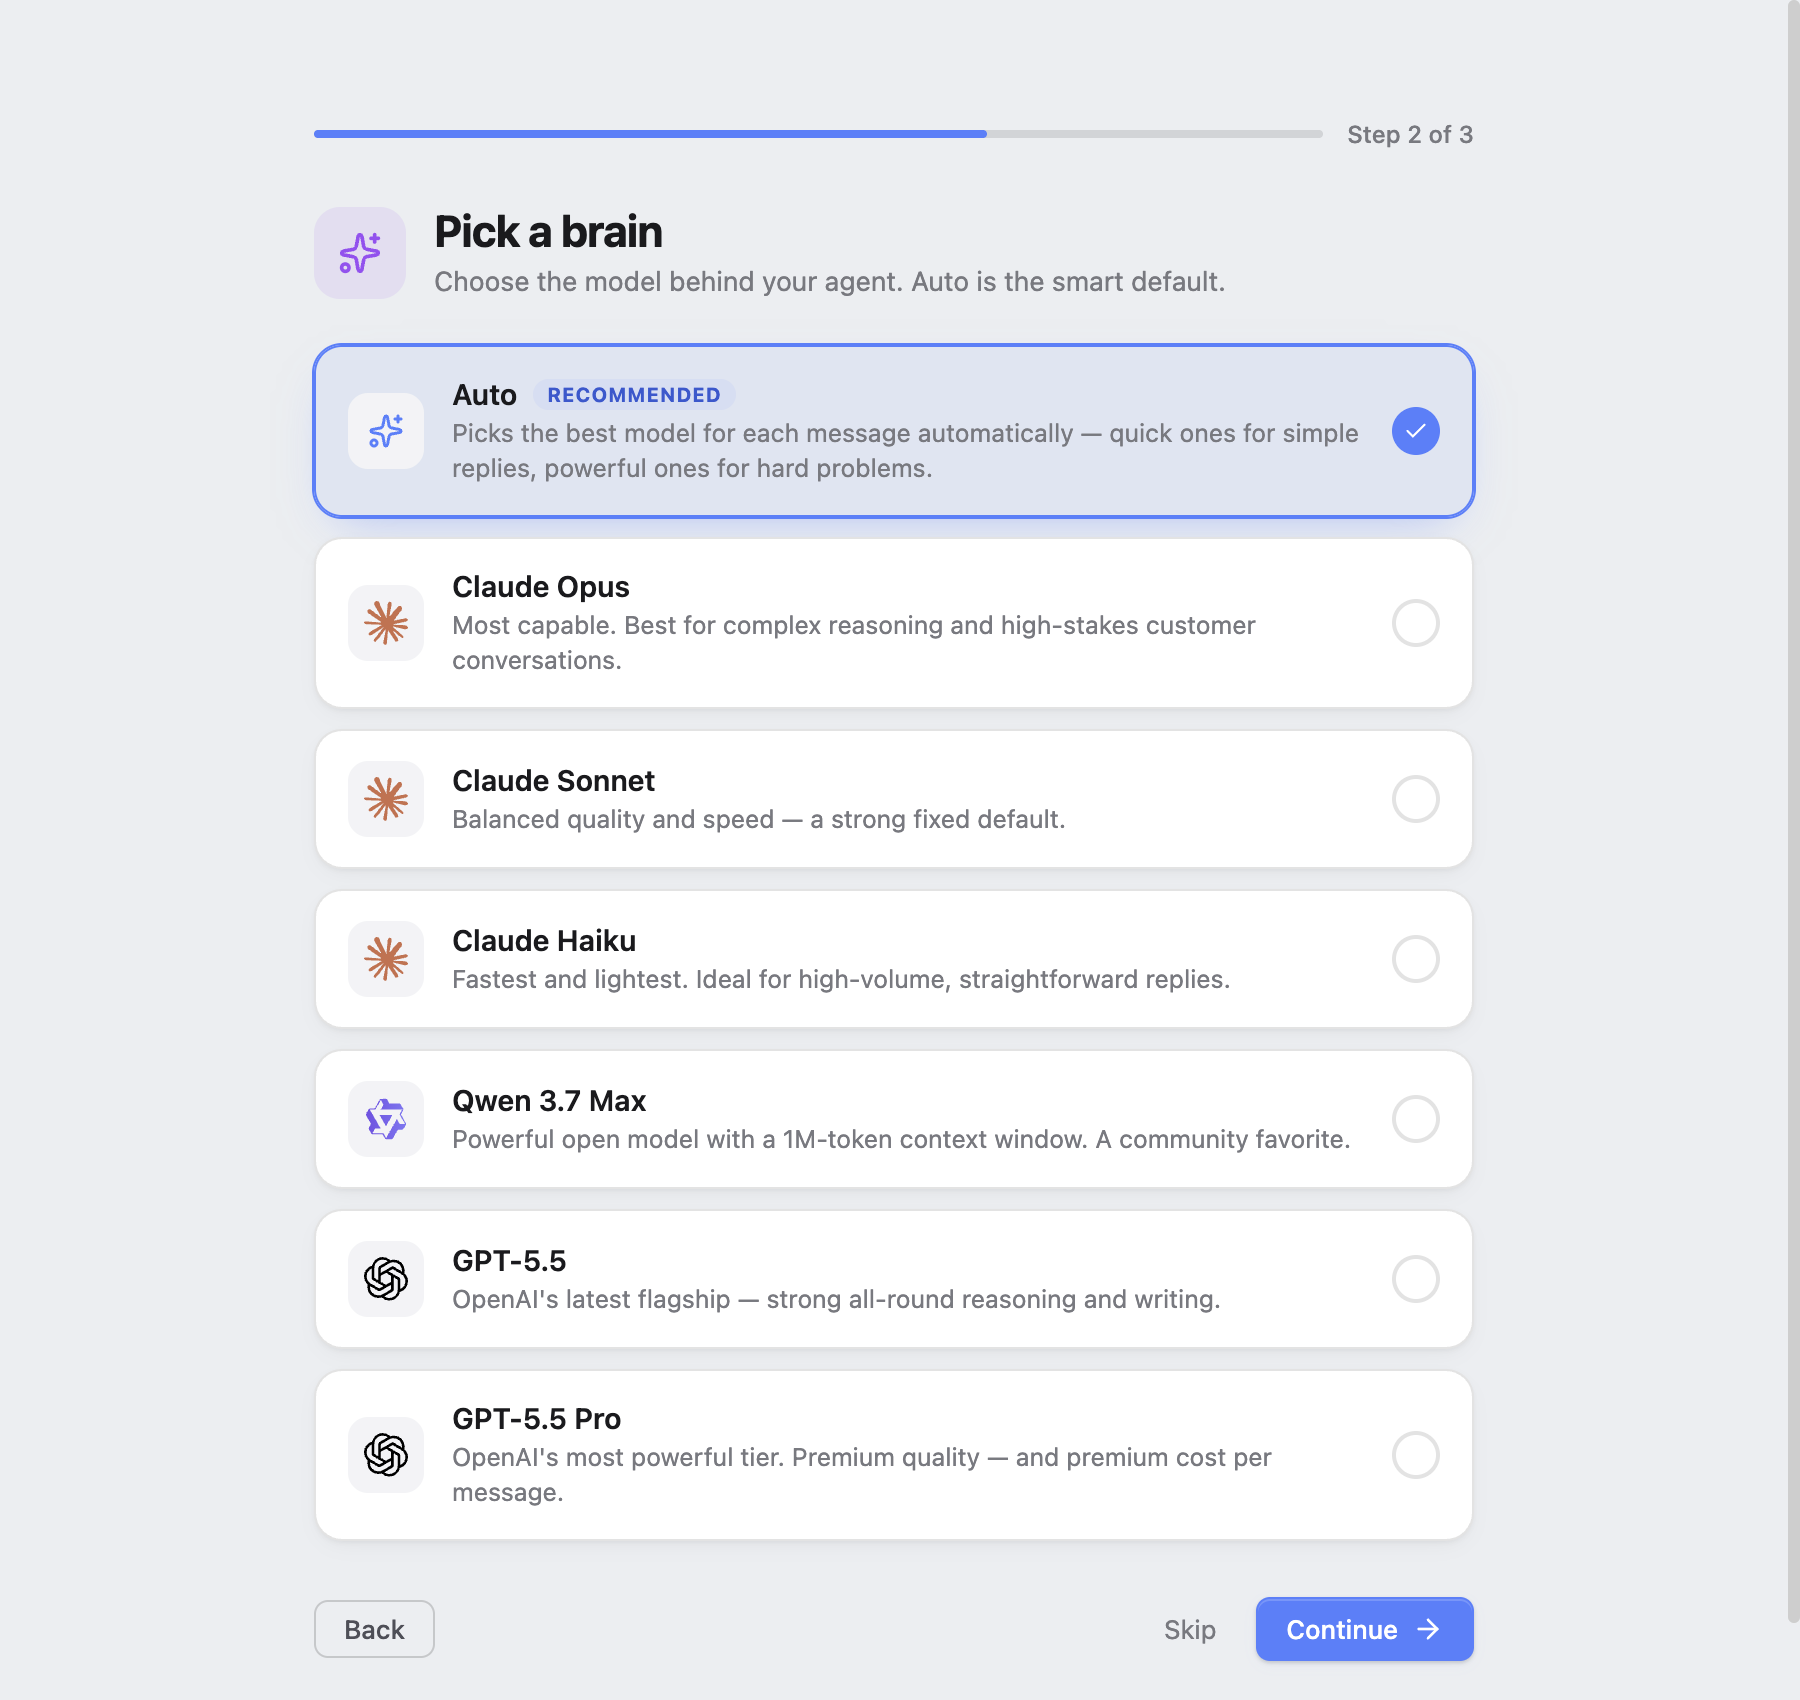
Choose which model the agent thinks with. Auto is recommended — it picks the right model for each message automatically, using quick models for simple replies and powerful ones for hard problems. You can pin a specific model instead if you have a preference. Either way, you can change it any time. See Models & the Router.
Connect a channel (optional)
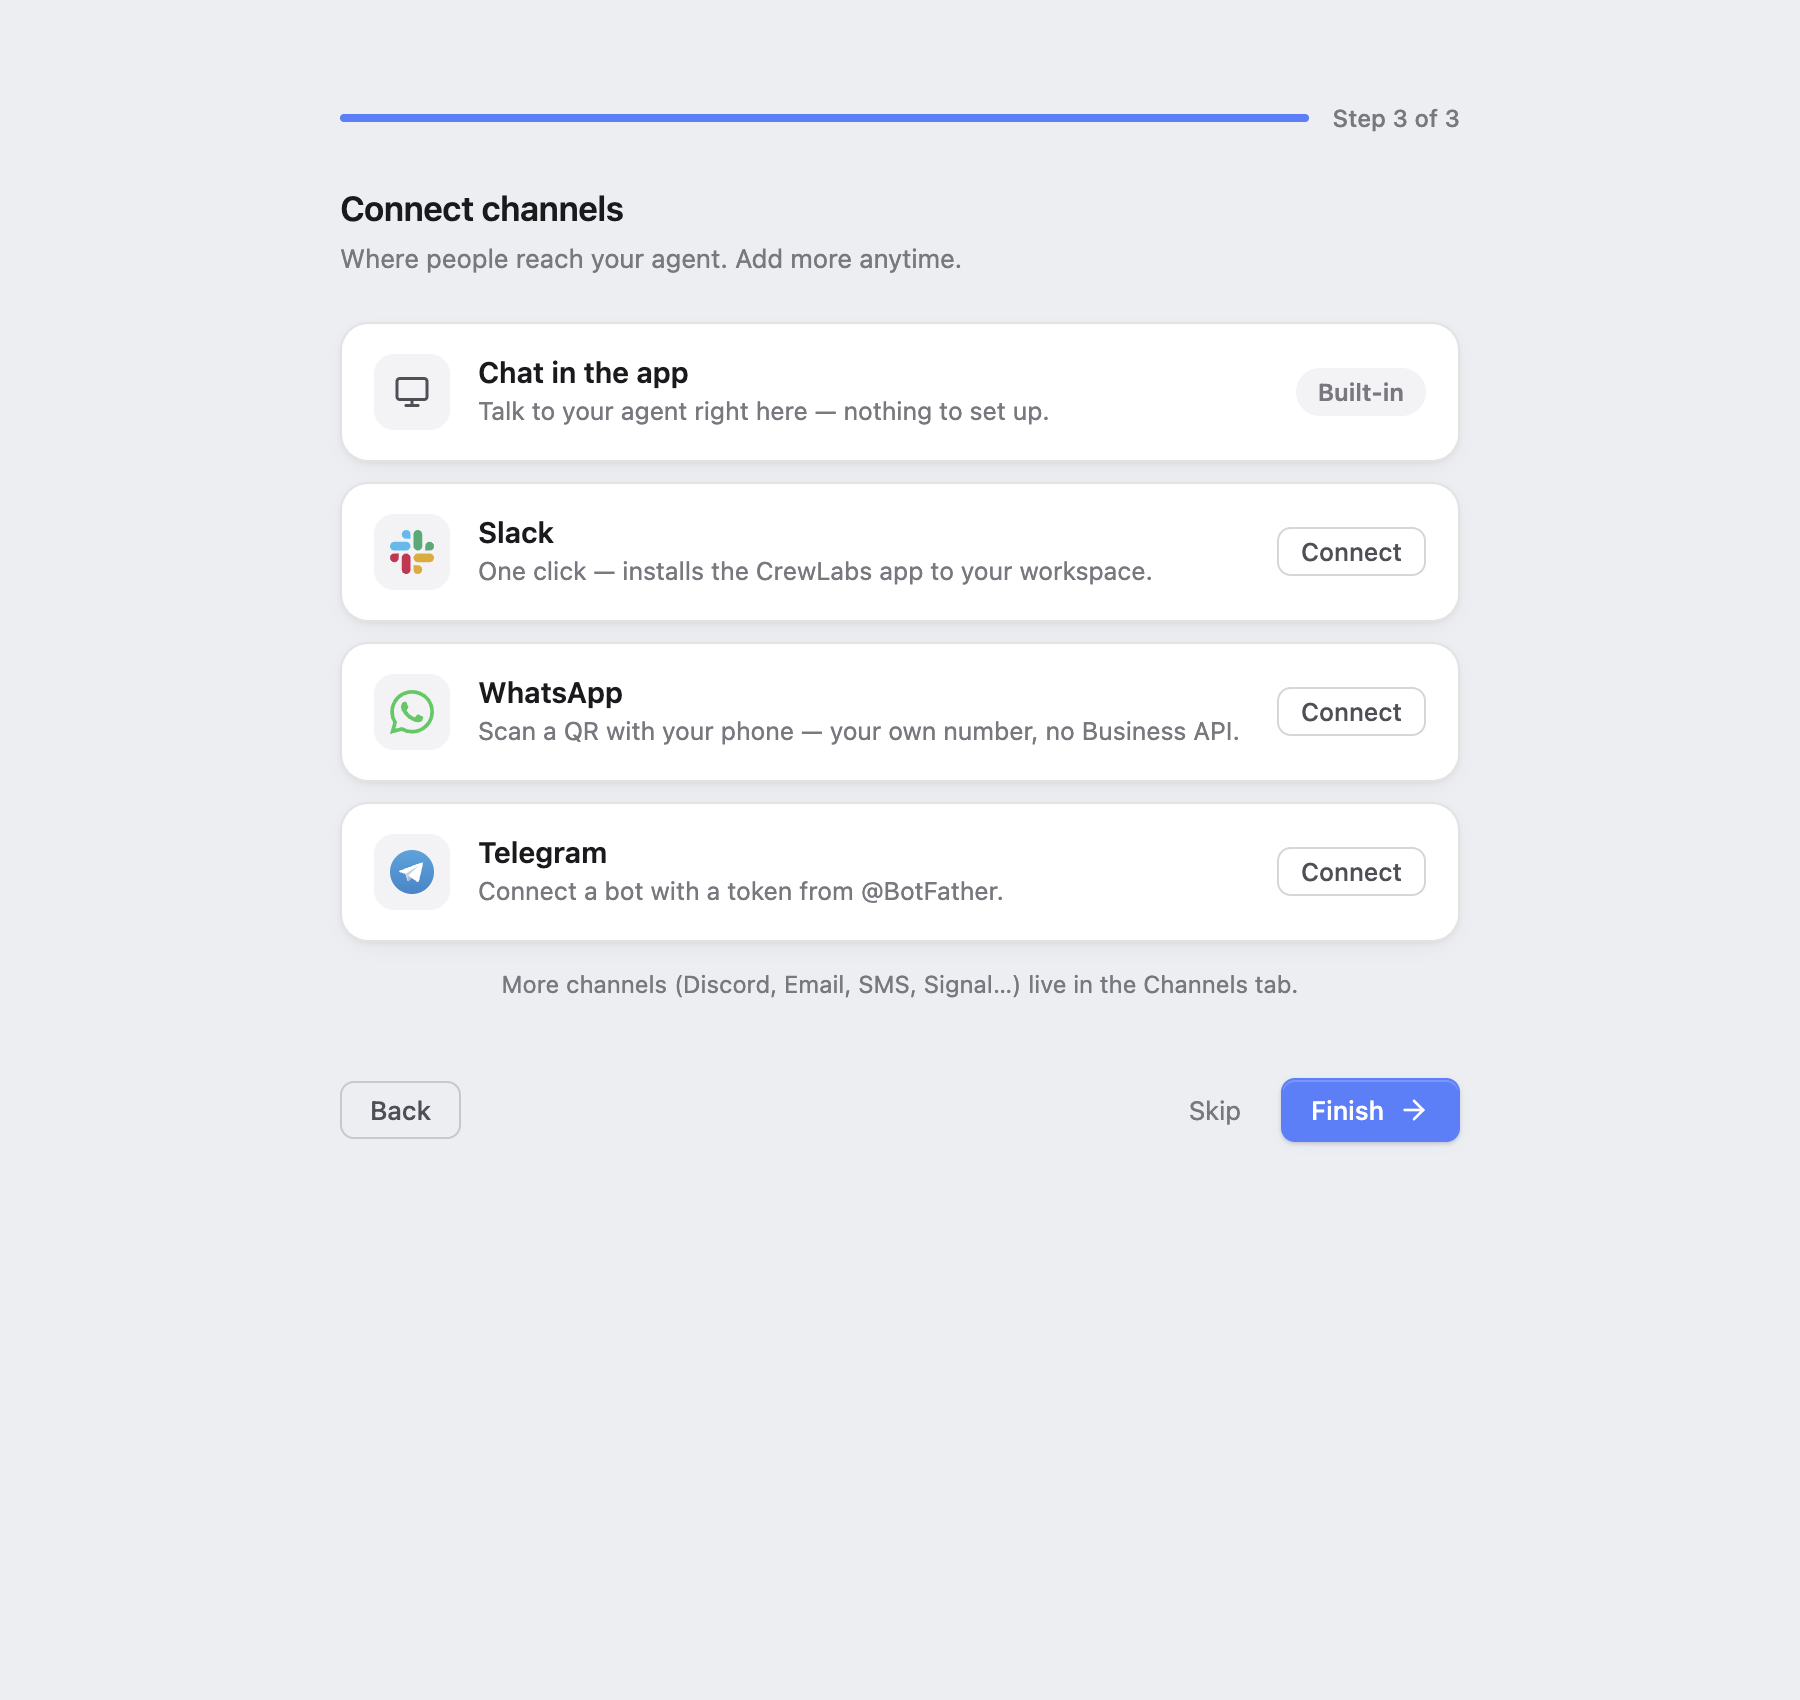
You can connect a channel now or skip it and do it later. The built-in desktop chat works immediately either way. See Channels for what each option needs.
4. Start chatting
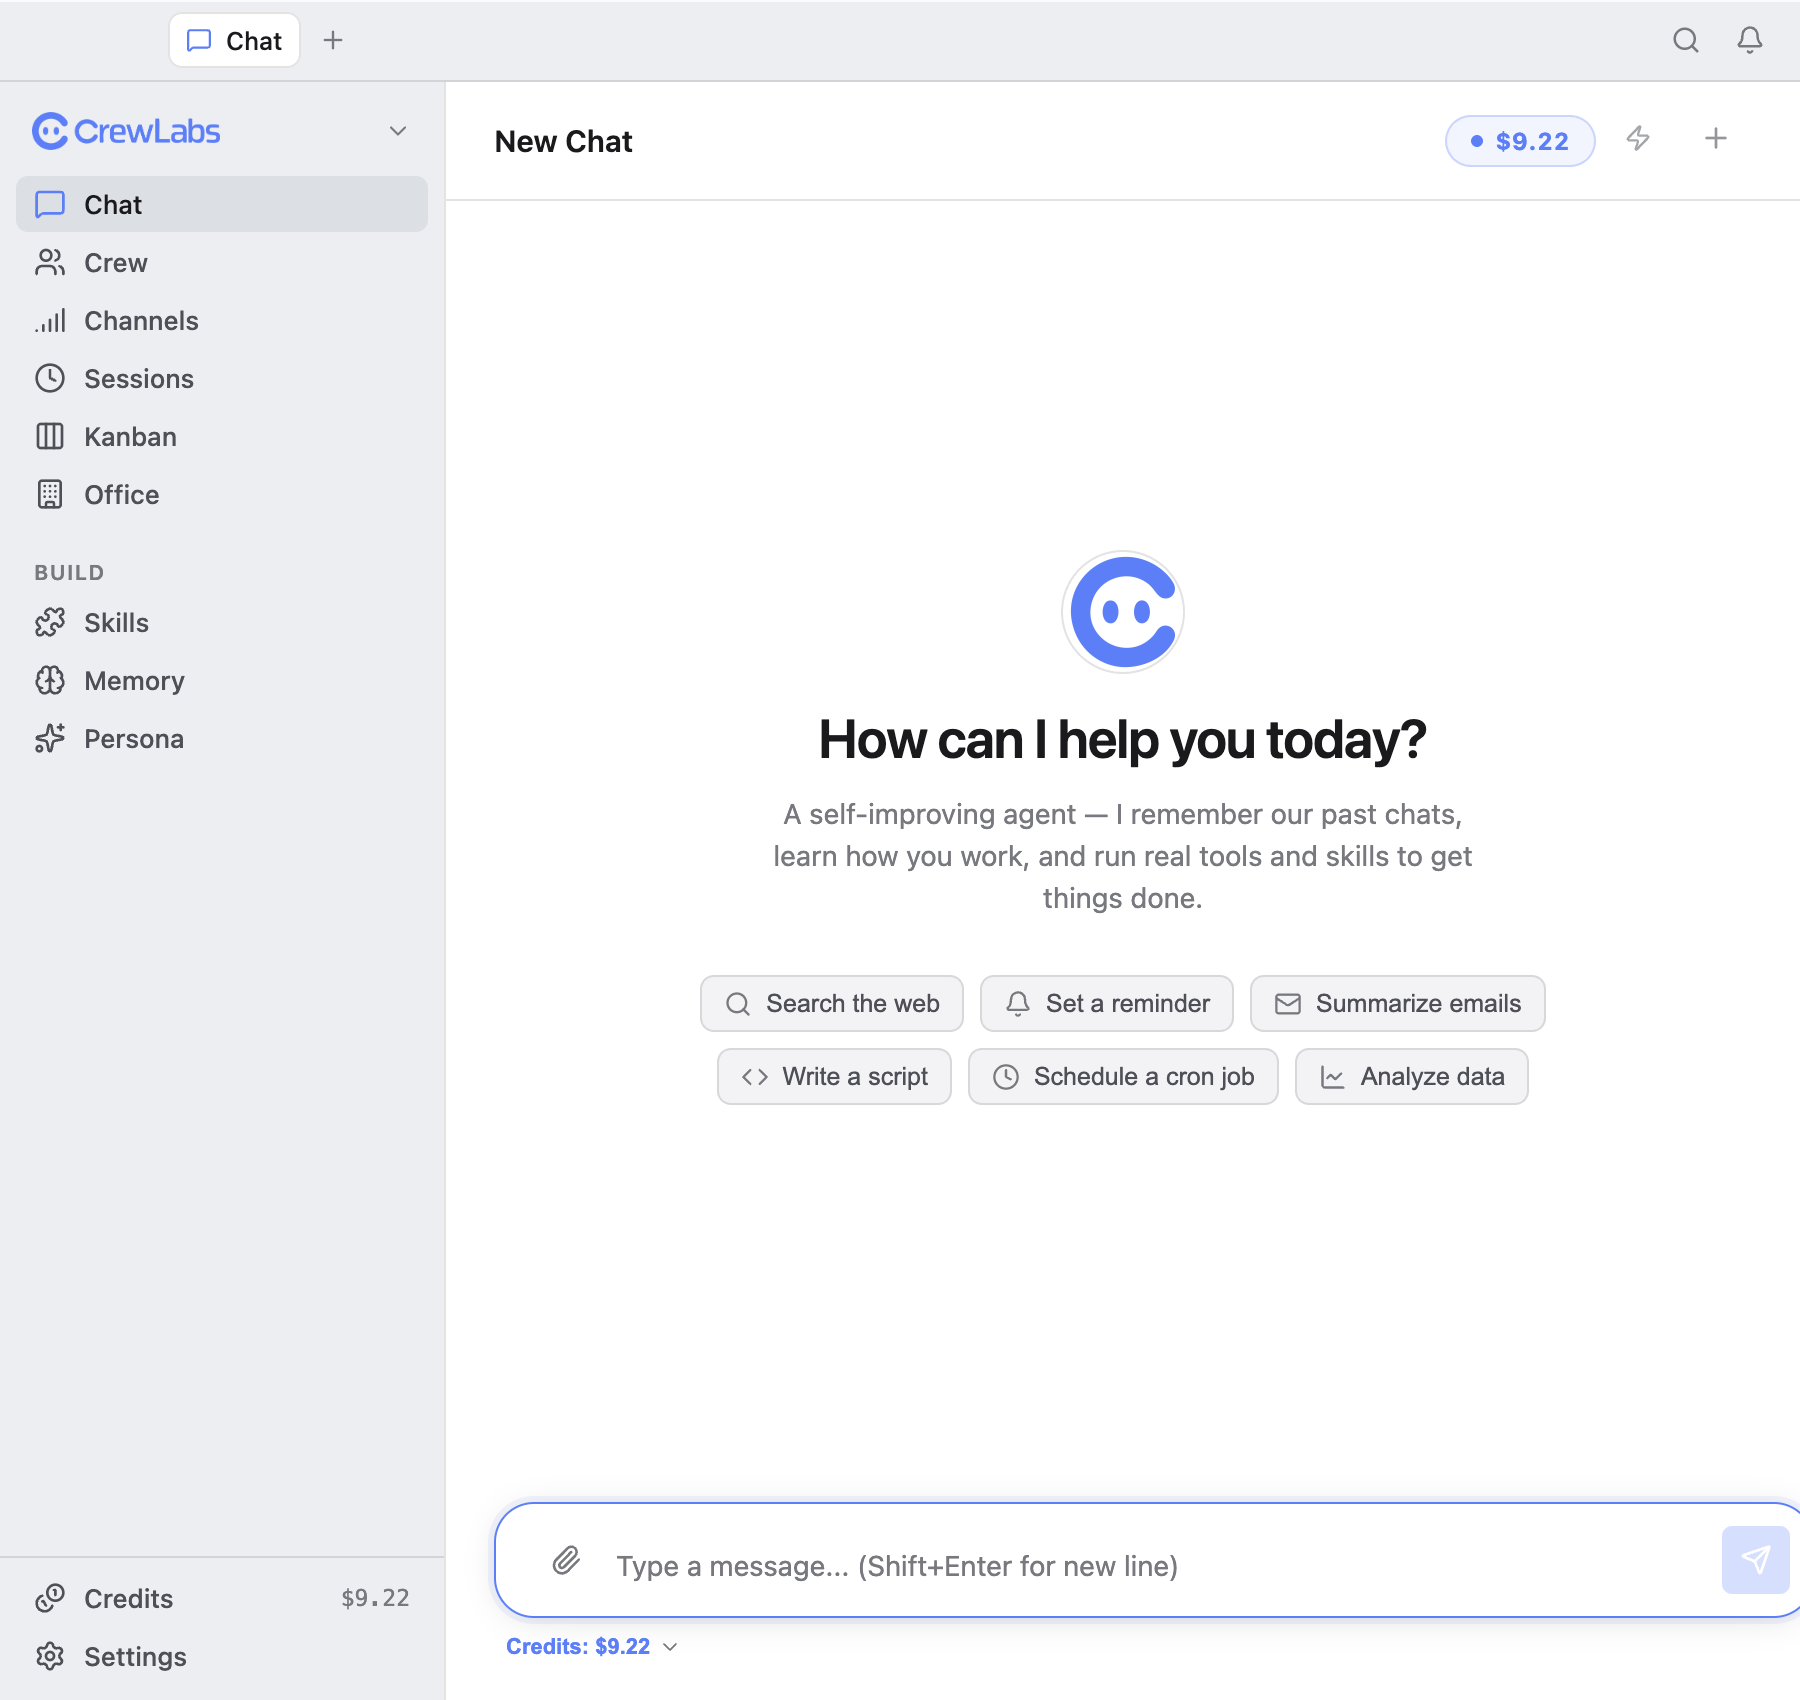
When the wizard finishes, you land in the chat. This is the agent's home — it's always on, and it's the fastest way to use the agent. Type what you want and it goes to work, running tools and remembering what you tell it across conversations.
5. Connect a channel
If you skipped channels in the wizard, open the Channels screen to connect one. From here you connect WhatsApp, Slack, Telegram, and others, and you can see what's currently connected.
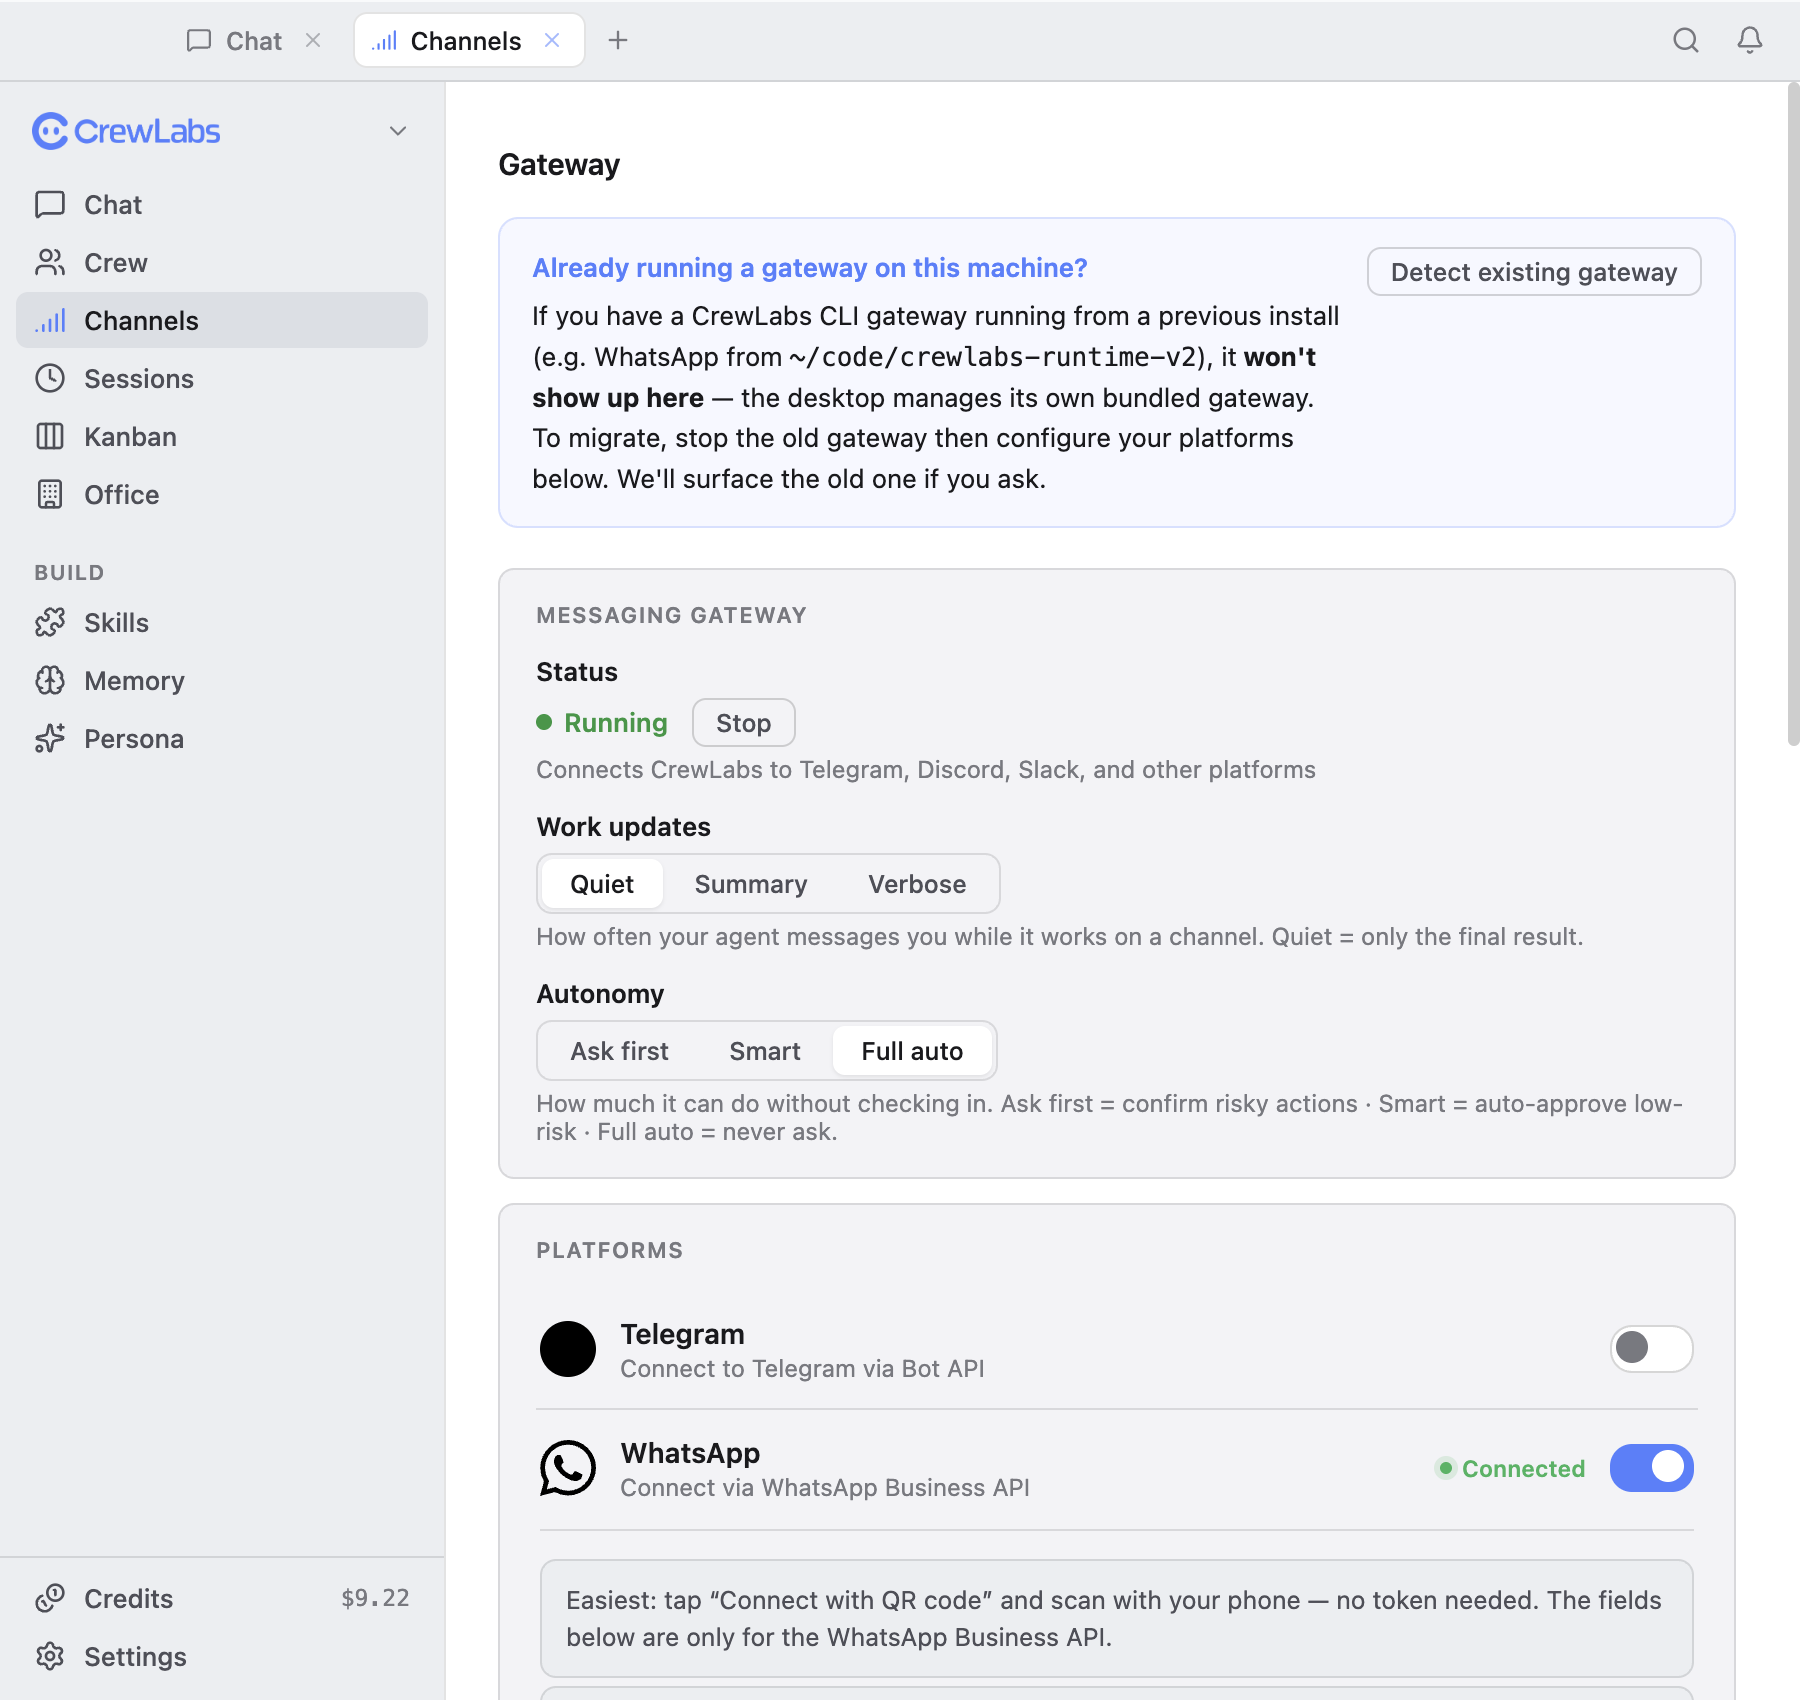
The full setup for each channel — what you scan, what you authorize, what token you paste — is in Channels.
Next steps
- Models & the Router — when to keep Auto and when to pin a model.
- Credits & Billing — track your balance and set up auto-recharge.
- Proactive Agent — let the agent reach out on its own.